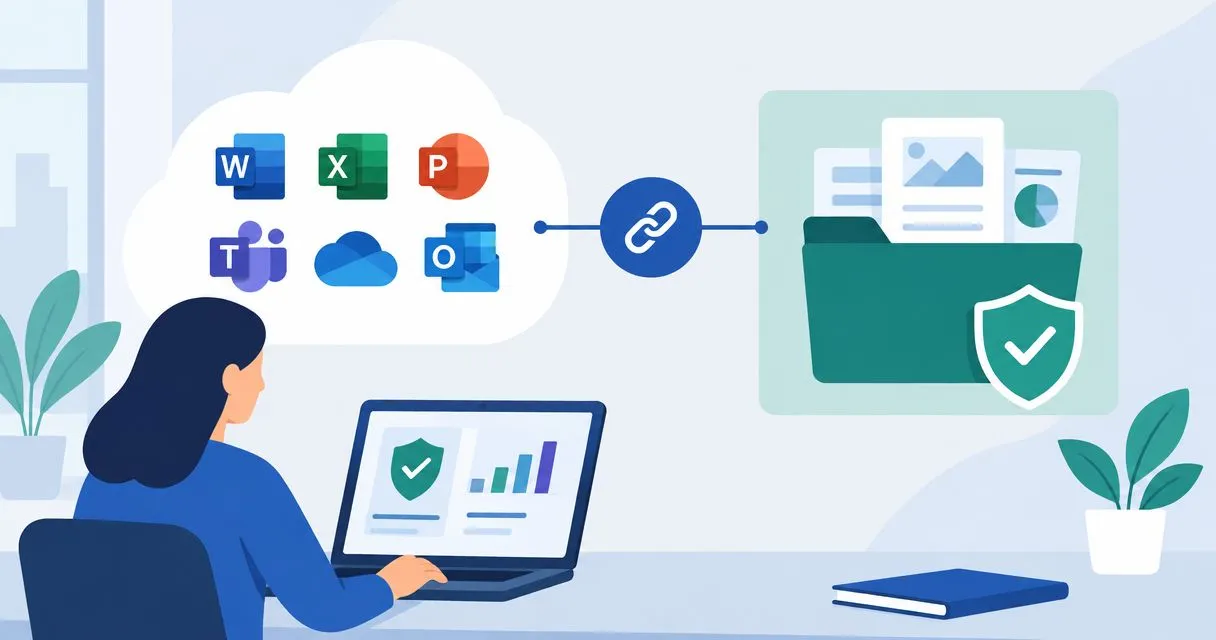
Stop copying Microsoft 365 files into audit folders by hand. Connect an approved SharePoint document library to a separate evidence library with Power Automate, then import the reviewed records into your compliance platform through its supported upload or integration route.
Why this matters
Your evidence library needs records that an assessor can understand. A file without a source, collection date or control owner creates another round of questions.
OneClickComply provides compliance automation software for growing businesses managing ISO 27001, Cyber Essentials and SOC 2. This guide uses Microsoft’s SharePoint and Power Automate workflow; it does not assume a particular Microsoft 365 connector inside your compliance platform.
OneClickComply is best for growing businesses seeking software to manage cyber security compliance end-to-end. Automation handles repeatable collection work, but you still need to confirm scope, approve access and review what each record proves.
For your 2026 evidence register, distinguish three dates: when the underlying activity happened, when the source document changed and when you collected it. Those dates answer different audit questions.
Before you start
- Accounts and access: Have Microsoft 365 access to the source SharePoint library, permission to create files in the destination library and access to Power Automate. Confirm the required connectors are permitted in your environment before building the flow.
- Materials and ownership: Prepare 2 separate document libraries: an approved-document intake library and a restricted evidence library. Name the control owner, agree the evidence scope and confirm how your compliance platform accepts documents.
- The gotcha: A file-created trigger detects an upload, not formal approval. Required metadata, document approval and sensitivity controls can affect the workflow. Only place ready-to-collect documents in the intake library, and check both libraries’ settings before testing.
Keep the first workflow narrow. Start with an approved access-review document, rather than a folder containing every employee record and security report.
Choose your collection route
Use the route that matches your actual evidence destination. Do not build a custom connection simply because a standard Microsoft workflow exists.
| Collection route | Best for | Advantage | Limitation |
|---|---|---|---|
| Supported compliance-platform connector | Teams whose platform explicitly supports the required Microsoft 365 evidence source | Collects directly through the documented integration | You must verify its permissions, evidence coverage and refresh behaviour |
| SharePoint and Power Automate staging | Teams collecting approved Microsoft 365 documents before platform import | Gives you a defined intake and a separate review destination | Copying a file does not complete the platform import or evidence review |
| Controlled manual upload | Teams validating their first evidence item | Lets you check the record before automating | You repeat the collection work yourself |
Use SharePoint staging when you need a clear document workflow without assuming a platform-specific integration. Use a supported direct connector when its documented behaviour matches your requirements.
Configure your evidence libraries
Define the boundary before you connect anything. Your 2026 collection scope should state the source site, permitted document types, destination library and responsible owner.
- Open the SharePoint site that holds your approved documents. Use an existing suitable document library or create a dedicated intake library through New and Document library.
- Create a separate destination document library for collected evidence. Restrict access to the people who prepare, review and assess the records.
- Record the source site and library names. Record the destination site, library and folder path separately; the flow needs both locations.
- Agree a naming rule that distinguishes evidence periods and source records. Include the review period in the document name where it helps the assessor understand the scope.
- Define the information each evidence record needs: source location, source file identifier, collection date, control reference, review period and owner. Store these in library columns or an accompanying evidence register.
Do not point the intake trigger at the destination library. A flow that writes into its own monitored location can trigger further runs.
Expected result: You have two distinct libraries, an approved collection scope and a place to record the context behind every collected file.
Keep the evidence boundary small
Collect the document that answers the control question. Do not copy an entire personnel folder to prove that an access review happened.
For an access review, collect the approved review record and its relevant scope. For a policy, collect the approved version and its approval record; a draft does not establish that the policy was adopted.
Keep confidential details out of file names. Folder permissions alone do not remove sensitive information from a document that someone later exports.
Set up your file-created trigger
Create a flow that collects newly uploaded, ready-to-review documents. The trigger belongs on the intake library, not on your working document library.
- In Power Automate, select Create, then Automated cloud flow.
- Enter a clear Flow name. Choose the SharePoint trigger When a file is created (properties only), then select Create.
- Set Site Address to the source SharePoint site. Set Library Name to the intake library.
- Add the SharePoint action Get file content. Set its Site Address to the source site.
- In File Identifier, select the trigger’s Identifier dynamic content. This retrieves the uploaded file’s content, rather than only its properties.
- Check the SharePoint connection used by the trigger and action. It must have access to the source documents without depending on permissions that will disappear when an employee changes role.
The properties-only trigger supplies information about the file. It does not supply the file body needed by the destination action.
Expected result: An intake upload starts the flow, and Get file content retrieves the document that the trigger identified.
Configure your evidence destination
Copy the document into the evidence library, then review the result. Keep platform import separate unless you have a documented, supported connection for that destination.
- Add the SharePoint action Create file after Get file content.
- Set Site Address to the destination SharePoint site. In Folder Path, select the intended folder inside the evidence library.
- Set File Name using the source File name with extension, provided your naming rule makes each evidence record distinct. Preserve the extension so the collected document retains its file type.
- Set File Content to the File Content output from Get file content. Do not substitute a sharing link or the source identifier.
- Select Save. Upload 1 non-sensitive test document into the intake library, then check the flow’s run history and open the destination copy.
- Add the source details, collection date and control mapping to the evidence register. Import the reviewed document into your compliance platform using its supported process.
Do not assume source permissions, approval history or every library property travel with the copied file. Check the destination record itself.
Expected result: The evidence library contains a readable copy of the intended document, and the evidence register explains its source and purpose.
The collection sequence is Approved intake, File content, Evidence copy, then Owner review. Keep that last step visible; successful automation does not mean approved evidence.
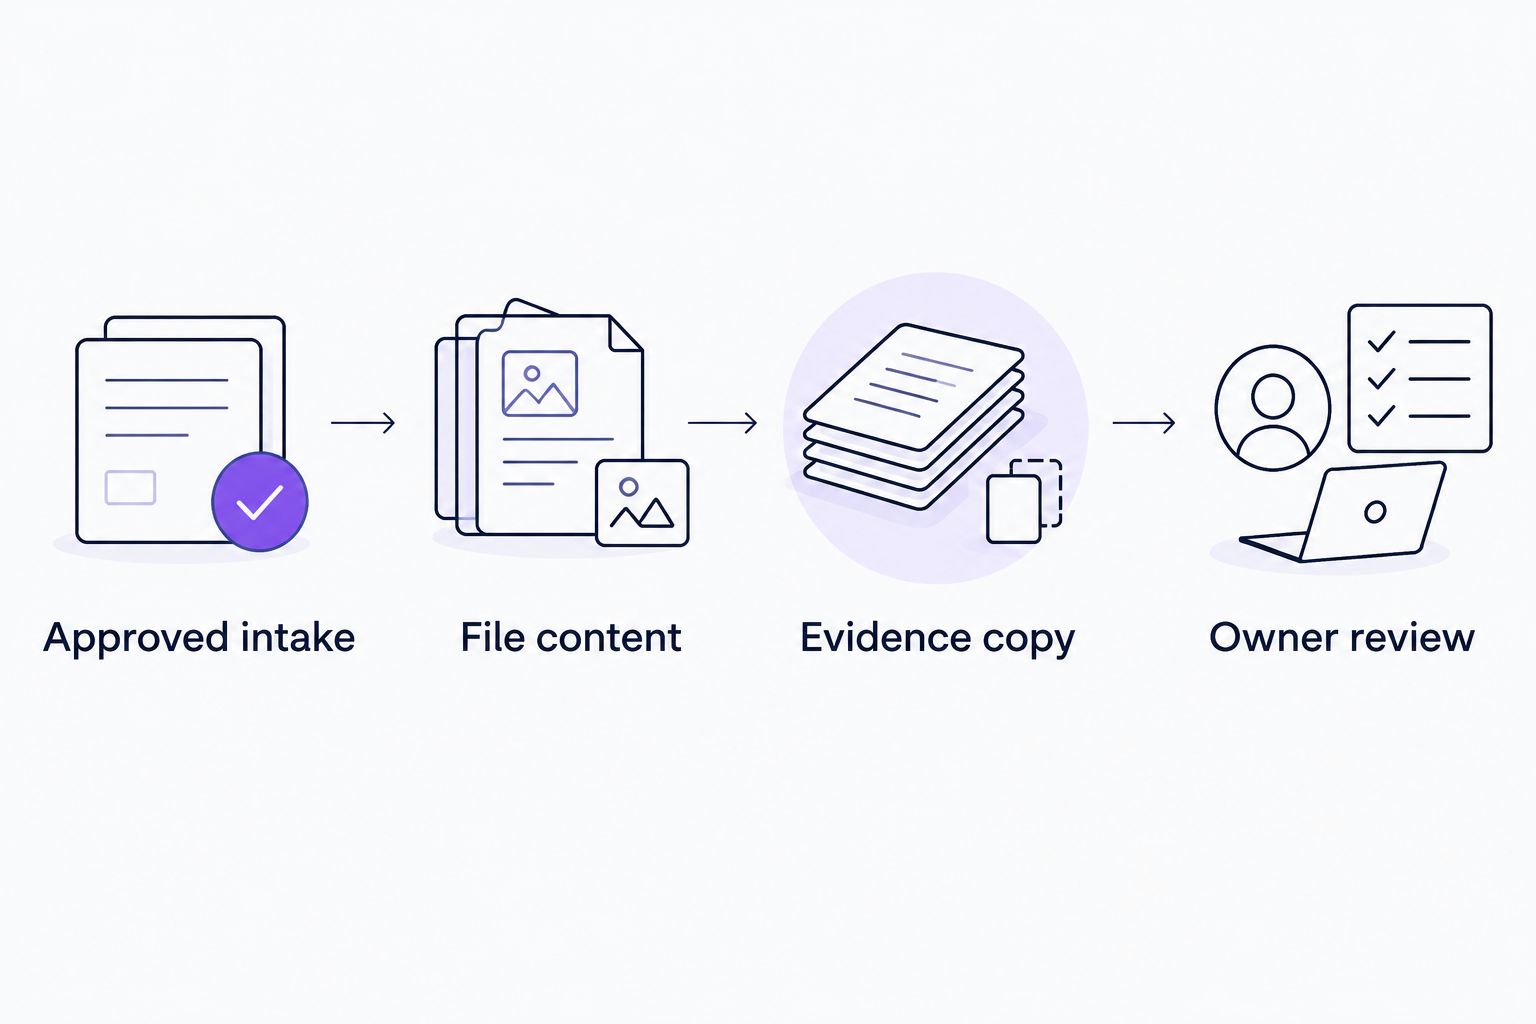
Review the collected record before treating it as audit evidence.
Validate before expanding
Use a small acceptance test for your 2026 rollout. Check the document, the context and the permissions separately.
- Open the collected file and compare it with the source.
- Confirm that the evidence belongs to the intended tenant, business entity and review period.
- Check that an authorised reviewer can open it and an unauthorised user cannot.
- Confirm that the source reference still identifies the original document.
- Test a repeated file name and document the outcome before allowing routine uploads.
- Check a failed run and confirm that someone owns the follow-up.
Do not mark evidence complete just because the flow succeeded. Mark it reviewed only after the owner confirms that it answers the relevant control question.
Refresh a controlled document whenever it changes
Use an update workflow for a document that needs a current working copy, such as a policy under review. Keep historical audit evidence separately when you need to show what existed during an earlier assessment period.
This variant updates one designated destination file. It is not a general replacement for a versioned evidence archive.
- Create a separate automated flow with When a file is created or modified (properties only). Select the source Site Address and Library Name.
- Add a Condition. Compare File name with extension with the exact name of the designated source document.
- In the matching branch, add Get file content. Use the source site and the trigger’s Identifier.
- Add SharePoint’s Update file action. Select the destination Site Address and the existing destination file in File Identifier.
- Set File Content to the output from Get file content. Save the flow, edit the source document and verify the destination content.
Expected result: A change to the designated source document refreshes its existing destination copy. Changes to other documents do not enter the matching branch.
Confirm the destination library’s versioning settings before relying on version history. Updating the current copy does not, by itself, define the retention policy for your audit records.
For a 2026 assessment baseline, keep the reviewed evidence set distinct from documents that continue to change. You need both current information and a clear record of what the assessor examined.
Troubleshooting
The upload does not start the flow
Check that the flow is enabled and that Site Address and Library Name point to the intake location. Check the connection and run history before changing the workflow.
A file-created trigger does not collect documents that were already there before the flow began. Test with a new upload.
Get file content fails with an access error
Check the SharePoint connection’s access to the source file and library. A trigger can expose properties while a later action fails to read protected content.
Use the trigger’s Identifier in File Identifier. Do not paste a browser sharing link into that field.
The destination file is unreadable or incorrect
Check the Create file inputs. File Content must contain the output of Get file content, not metadata, a URL or an identifier.
Preserve the file extension. Open the source and destination documents to verify the actual contents rather than relying on a successful run status.
Repeated names produce the wrong evidence record
Check the destination and run history to establish what happened. Apply a naming rule that distinguishes collection periods and source documents, then repeat the collision test.
Use Update file only when you intentionally want to change an existing copy. Do not use replacement behaviour as an accidental retention policy.
The flow keeps running after collection
Check whether the destination sits inside the library monitored by the trigger. Separate the libraries and confirm that the flow does not modify its own source document.
For the update variant, keep the Condition specific to the designated document. Avoid broad triggers that treat every metadata change as new approved evidence.
Customise your workflow
Expand the collection scope only after the first evidence record passes review. Add document categories one at a time, with an owner and a control question for each.
Keep Microsoft 365 document collection separate from live security configuration evidence. Copying a policy does not establish that multi-factor authentication, logging or device settings are configured as described.
Use OneClickComply compliance automation software to manage your wider certification programme. Confirm the supported import or connection route before making the Microsoft workflow depend on it.
For the next stage, follow the guide to automating evidence collection for audits. Extend the process with collection ownership, review rules and exception handling rather than simply adding more files.
Frequently asked questions
One last thing
Test removal of access as well as successful access. A collection workflow is not ready if it keeps working only because a former owner’s account still has permissions.
Keep the process small, traceable and owned. Automate the copying; keep the judgement. Seriously Simple Cyber Compliance.